
What is Aperture?
Aperture can easily be explained as the size of the shutter that opens on the camera. Even easier to understand, how big the “hole” opens that lets light into the camera. The camera’s digital display expresses aperture in numbers prefaced with the letter “f”. A large aperture is expressed with a small number like f/2.8, where a small aperture is expressed with a large number such as f/22. Using different apertures will allow a shooter to gain creative control over their images. Many inexpensive point and shoot cameras have limited ranges of apertures, which is why photographers will graduate to DSLRs to gain a wider use of camera functionality.
When a photographer uses a larger aperture (f/2.8) they can achieve a nice blurred effect on the background bringing the viewer’s eye to the sharpened area’s of the image. This creates contrast in the sharpness of the photograph which can achieve a beautiful artistic effect known as “bokeh”. While using a small aperture (f/22) more of the background will be in focus creating a dramatically different look on the image.
The area of the photograph that is in focus is called the depth of field. Putting a subject within the depth of field, and letting the background fade out, will give an image a greater dimensional look. If all parts of the image are in focus, then the image may look flat without bringing a viewer into the scene. An advanced shooter will selectively include, or exclude, portions of the image with the depth of field creating a foreground, subject, and a background. Finding the appropriate aperture will determine how large this depth of field will be.
Macro Photography and Aperture
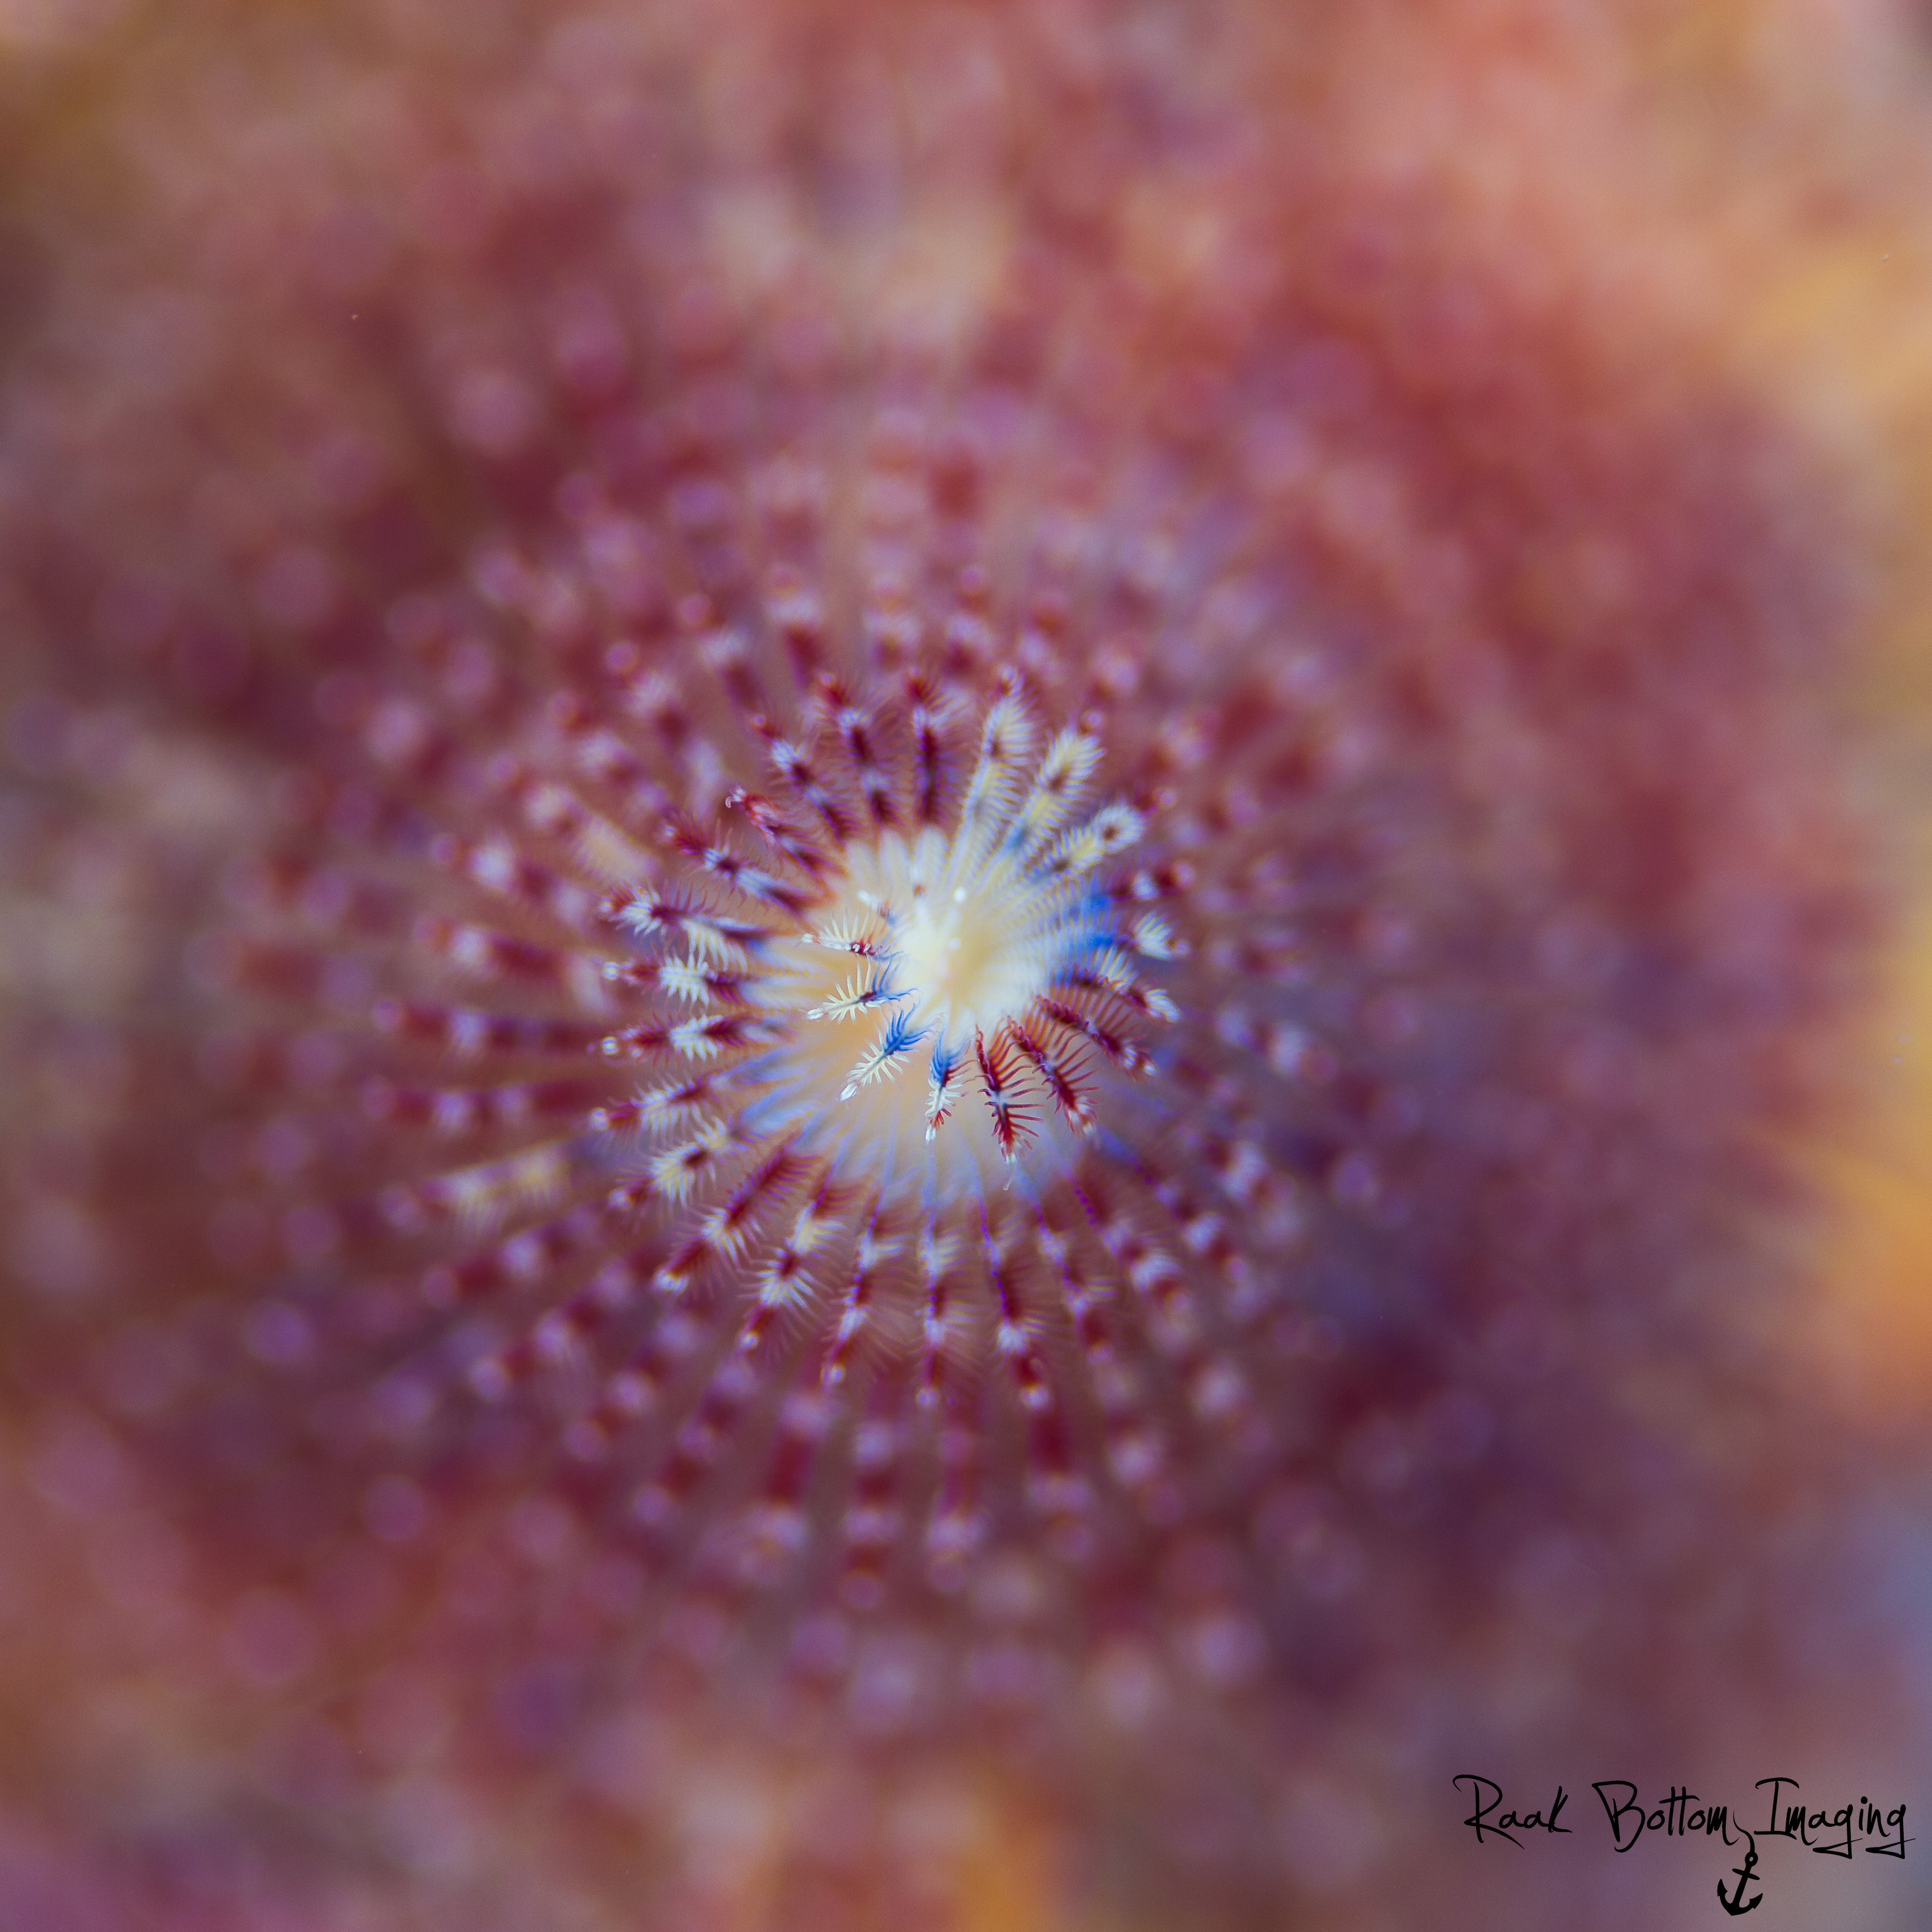
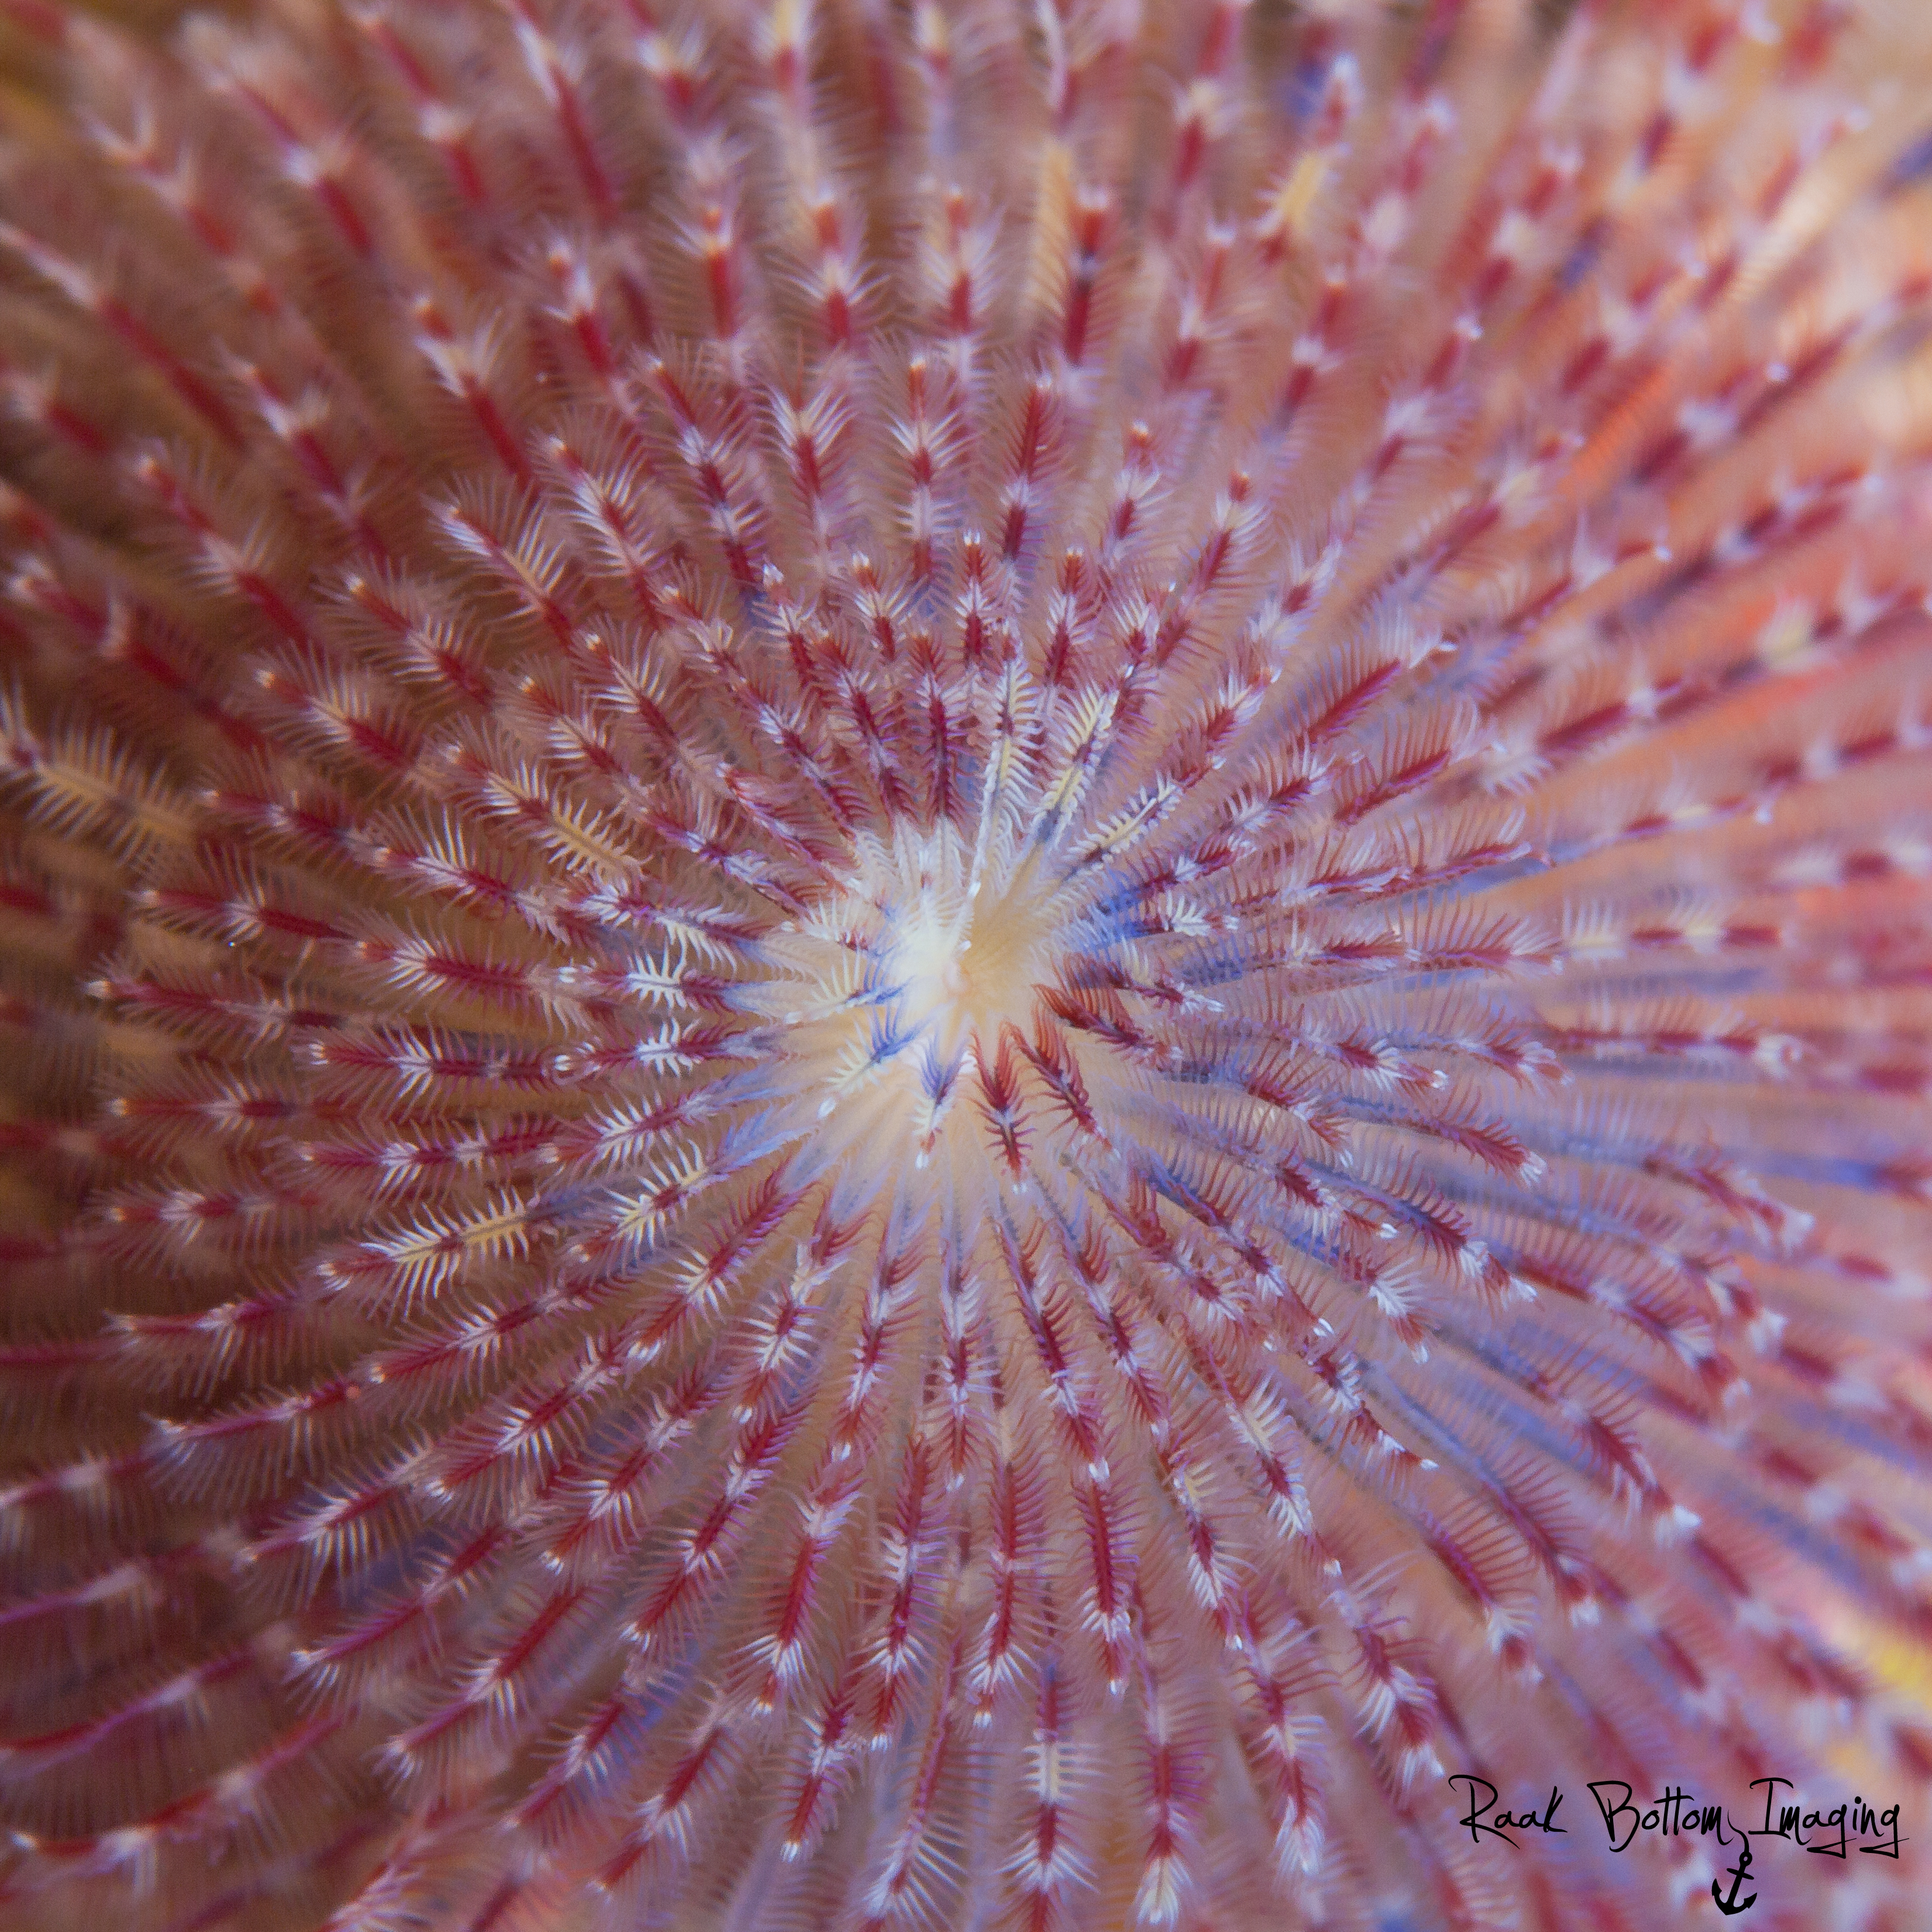
In macro photography the larger apertures (f/2.8) will give a thinner depth of field making it a challenge to use, especially when trying to capture a moving subject. The depth of field will become even thinner the closer the subject is to the lens, which, being close to the subject is goal in many shots. Using 100mm macro lens vs. a 60mm macro lens can make a frustrating day of shooting at a large apertures due to the distances a shooter needs to be to frame a macro subject. Stacking a magnifying diopter on top of the lens will increase this difficulty even further. I suggest a great “jump” setting for macro photography is to start around f/18. Wait to use larger (< f/10) for more advanced shots when shooting macro photography. Move the aperture above f/18 if the depth of field is too shallow to achieve the envisioned shot. Below is a example of a Blue Ring Octopus shot at f/18, which has a depth of field so thin the eye of the creature stands out with the foreground and background is blurred by bokeh.

f/18, shutter 1/250, ISO 100
Wide-Angle and Aperture
When shooting wide angle images aperture is just as important. Sometimes shooters may find wide angle photographs “easier” to put subject in focus depending on your distance from the subject. Wide angle photographs are usually shot at a distance to encompass a reef scene. Lens less than 35mm also have a thicker depth of field than macro lens greater than 35mm. The the wider the focus range the greater the depth of field will be. The closer the camera is to the subject the “thickness” of the depth of field will shrink. So, depth of field can be difficult the closer the subject is to the lens especially when shooting Close Focus Wide Angle Photographs. Take a look at the different apertures on the following photographs and see the different effects they have on the Depth of Field.
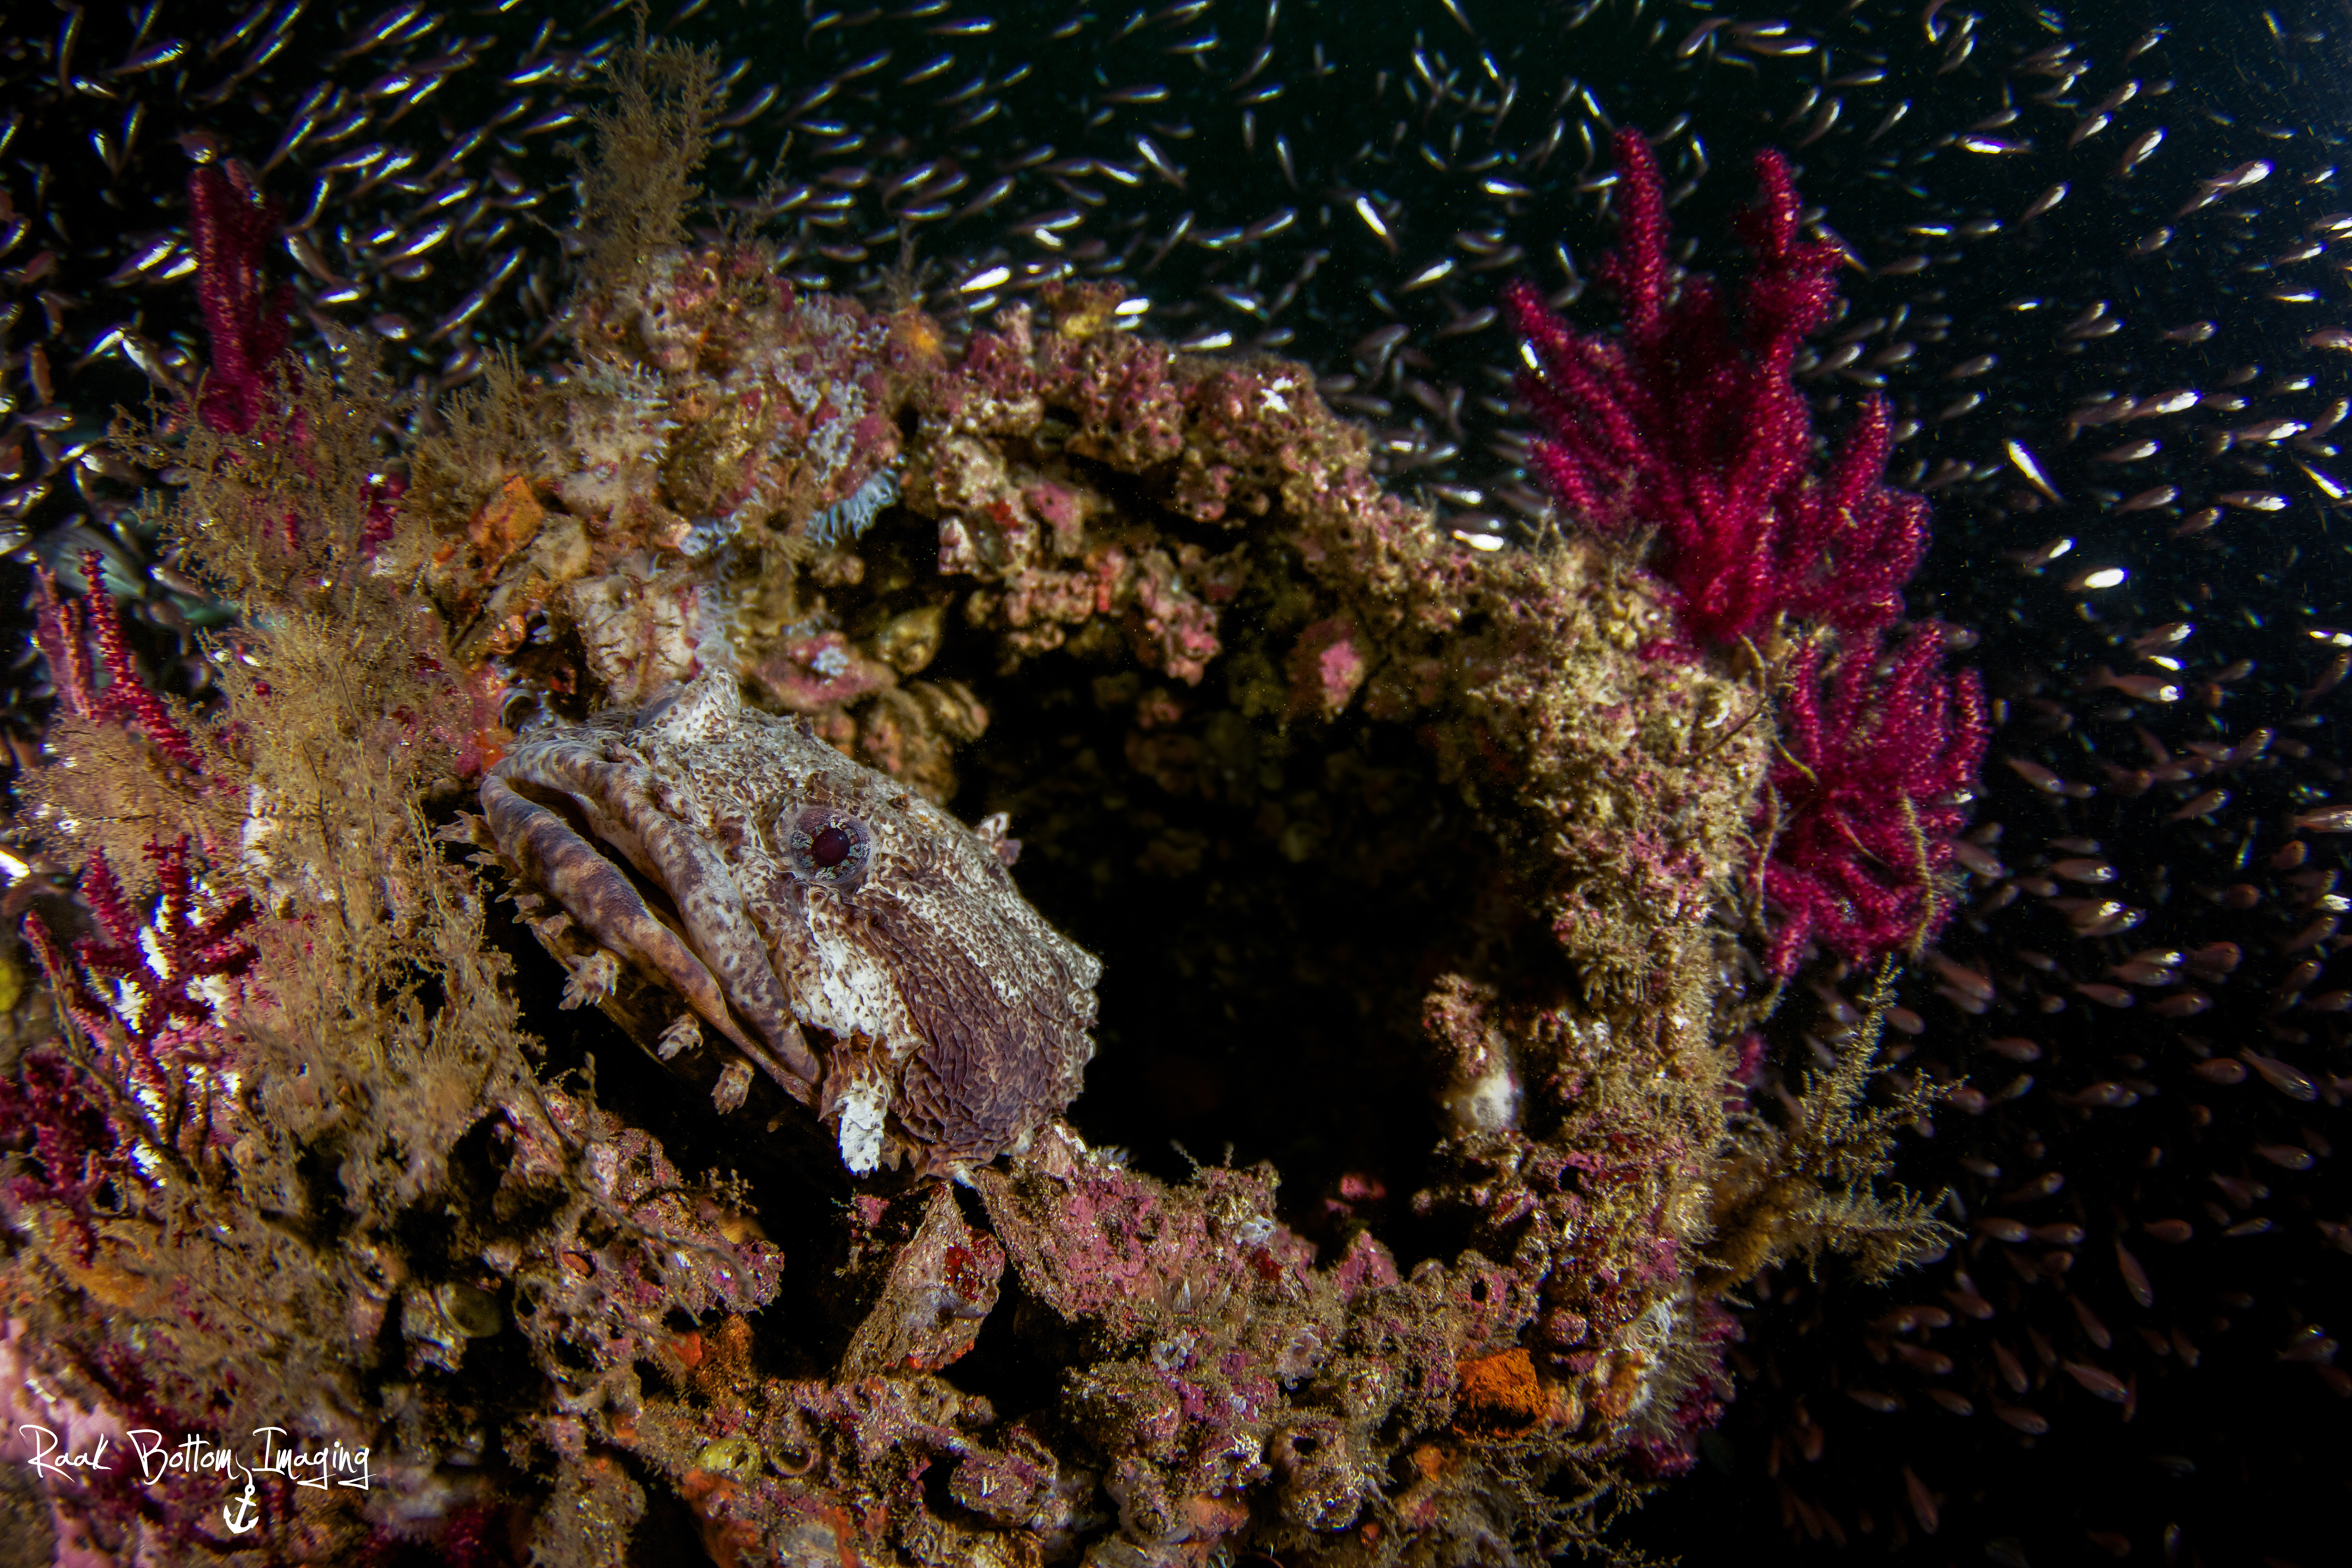
f/4.5, 1/125, ISO 100 (Close Focus Wide Angle)
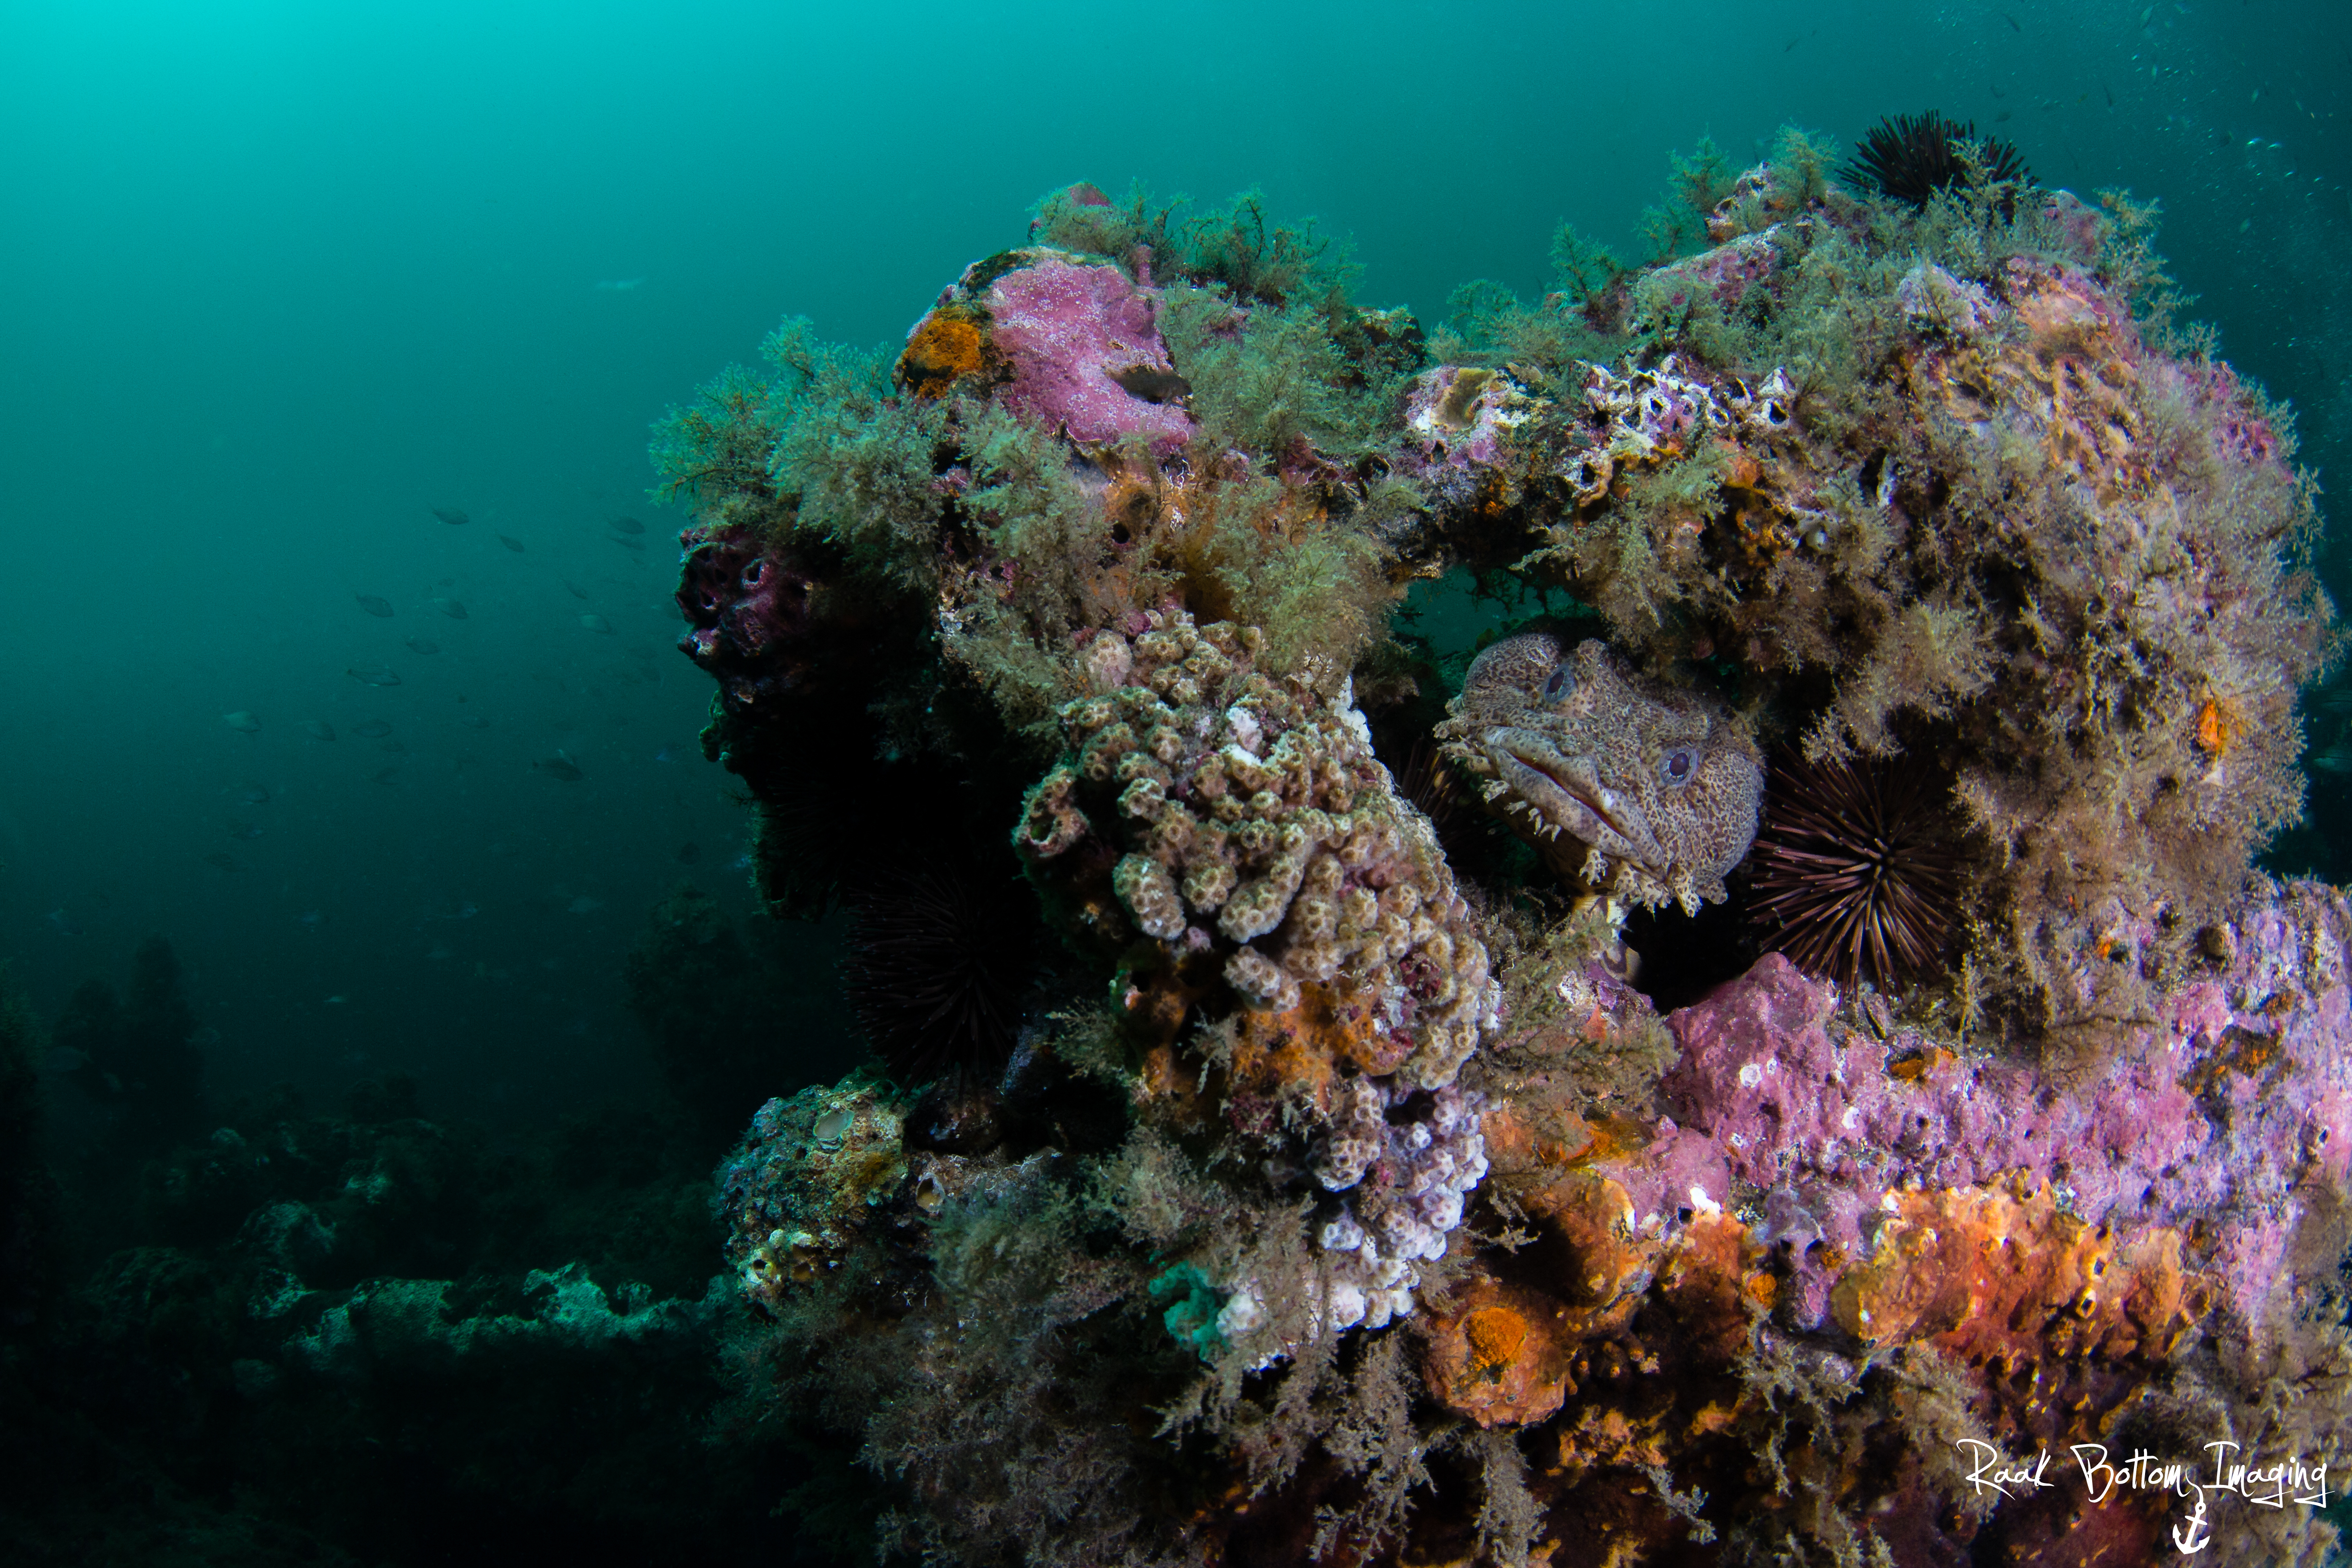
f/8, 1/200, ISO 400 (Wide Angle Reef Scape)
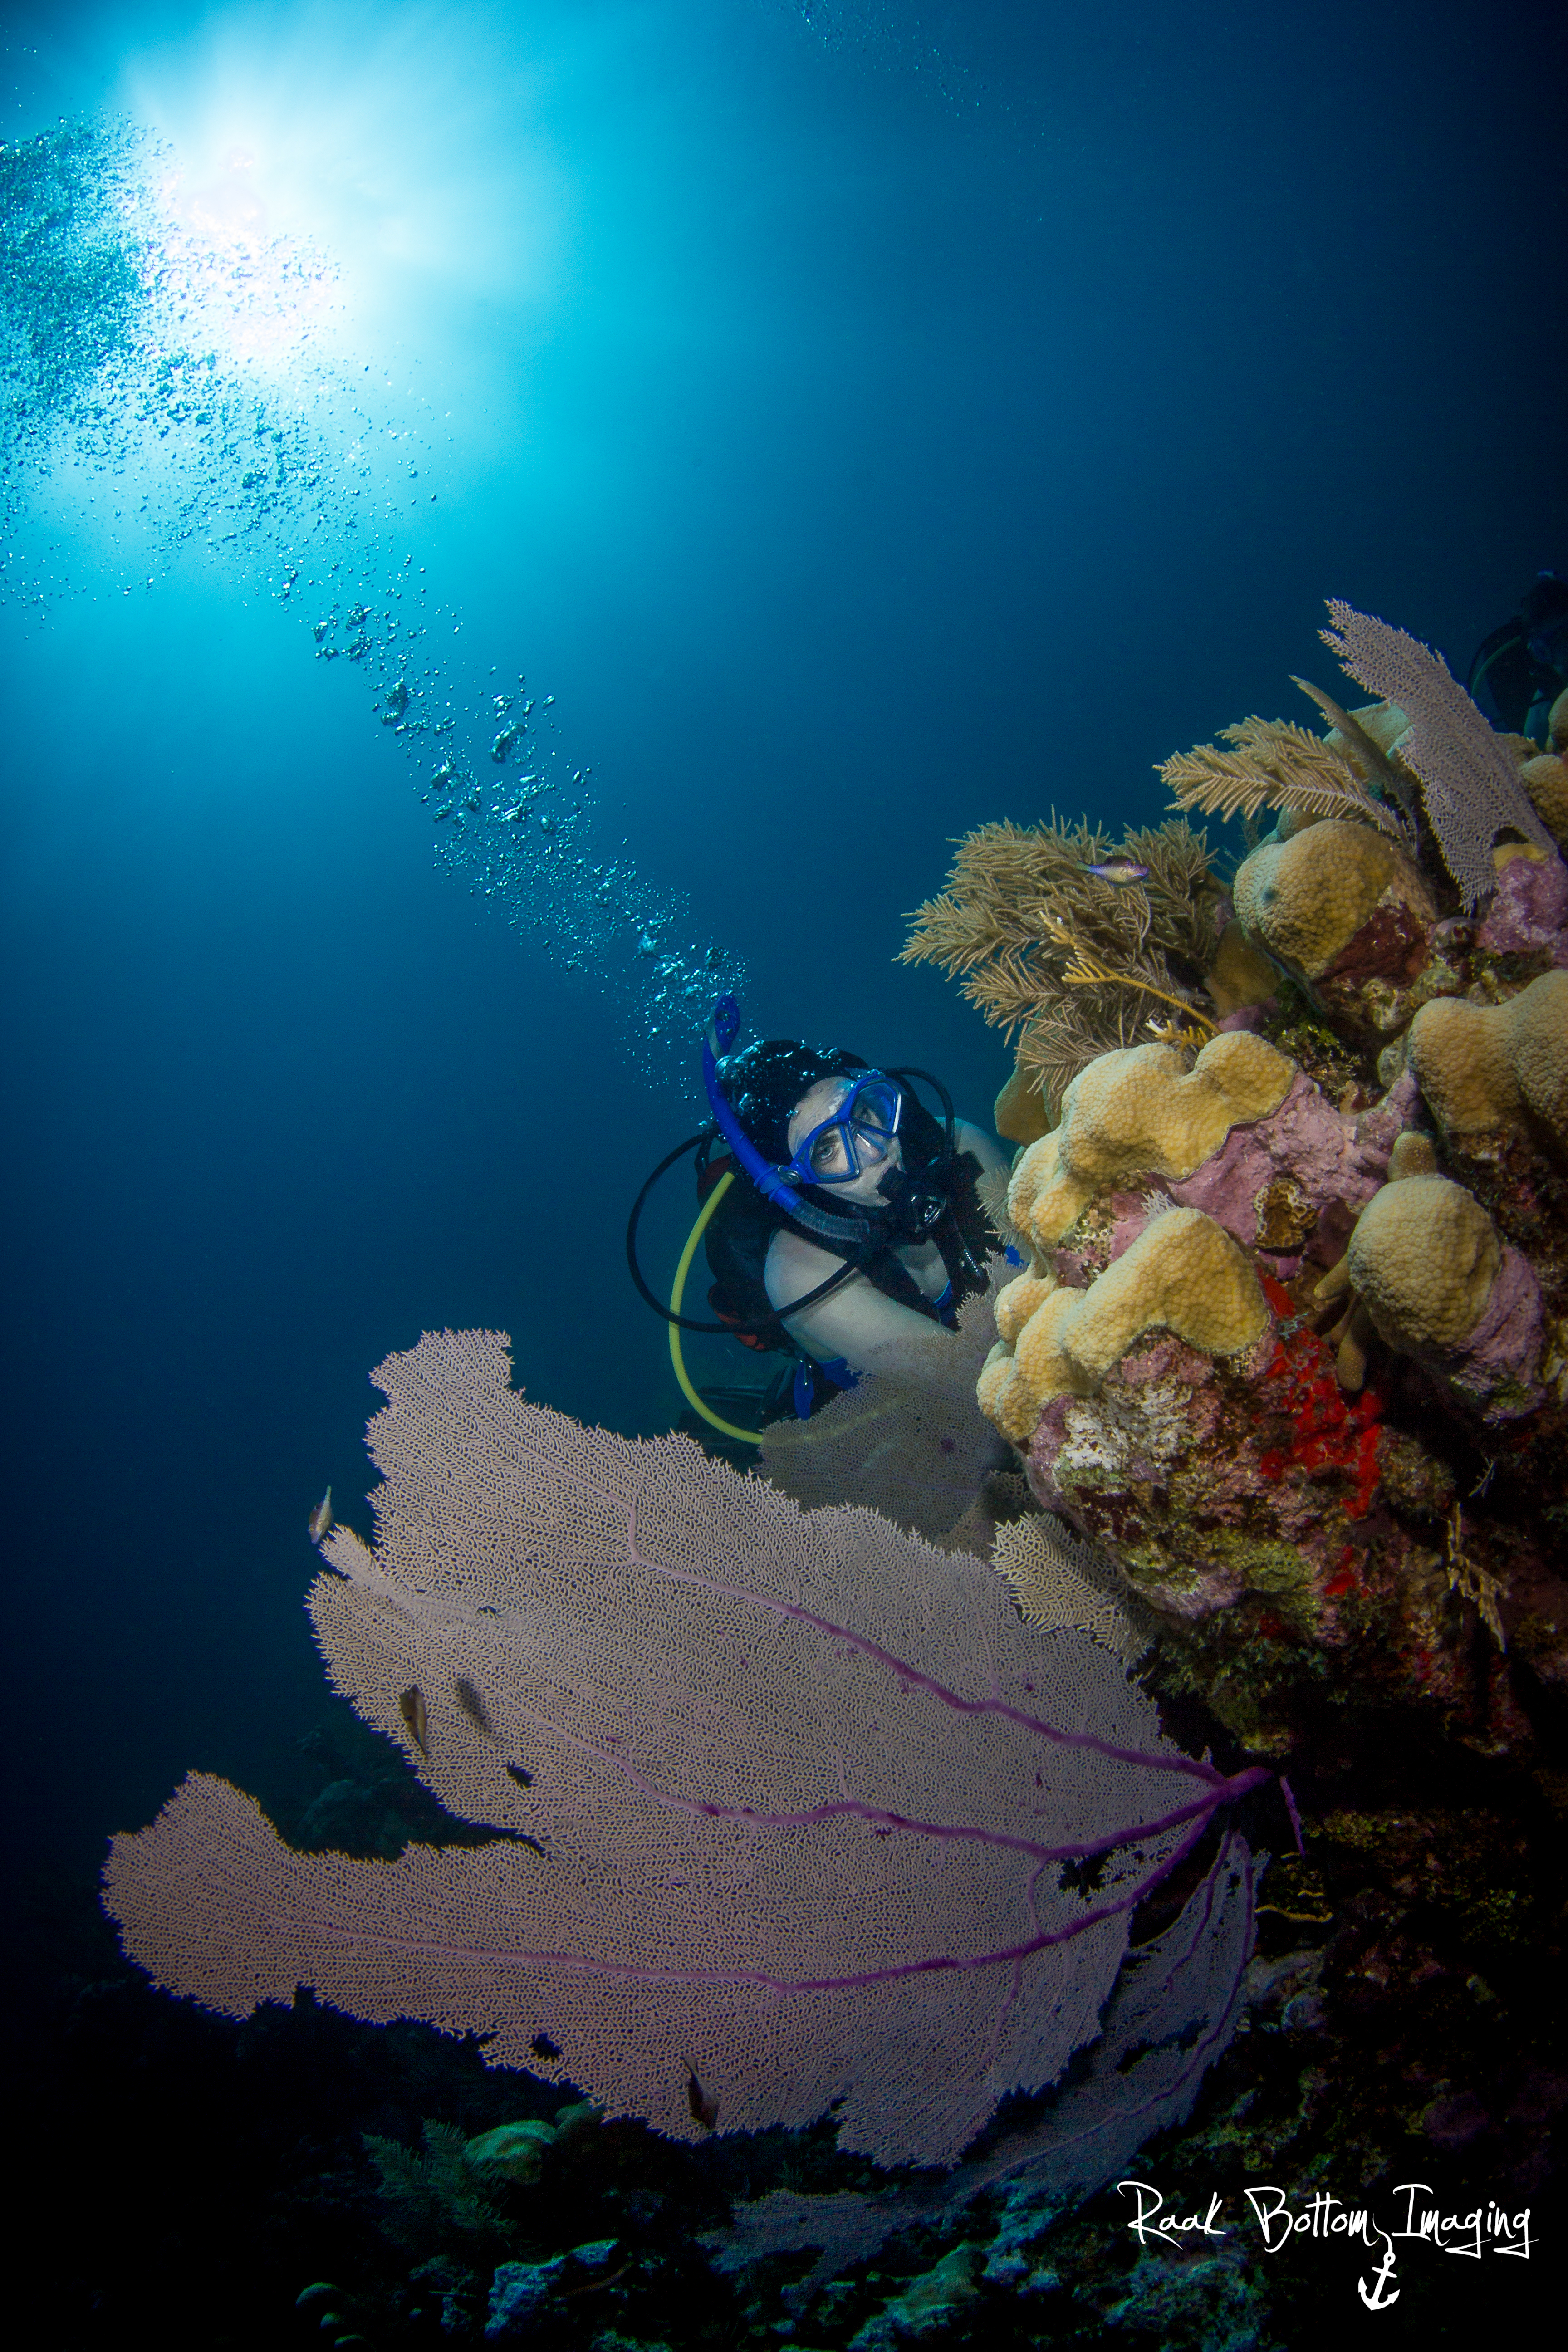
f/16, 1/250, ISO 100 (Wide Angle Reef Scape)
Aperture Quick Tips and Wrap Up
Thicker Depth of Field
-Further Distance from the Subject
-Shooting smaller aperture (f/18 and above)
-Larger lens (think wide angle <35mm)
Thinner Depth of Field
-Closer to the subject
-Shooting large aperture
-Smaller lens (Macro Len >35mm)
Closing Remarks
Mastering the balance between apertures will have a meaningful impact on images. Utilizing the proper depth of field will give focus for the subject within the photograph instantly bringing the viewer into the scene. If you are interested in more
Check out more Raak Bottom Imaging Tips and Trick with…
Adobe Lightroom: Spot Removal Tool
Come learn more about Underwater Photography at this year’s…
Book Recommendation…
The Underwater Photographer, Fourth Edition by Martin Edge